Tutorial:Making Diamond Interchanges with the Elevated RHW
The El-RHW is a real beaut when it comes to making diamond interchanges. In this guide, I will show you how to build 3 more diamond interchanges with the El-RHW, using the El-RHW type "A" ramp and ground-to elevated MIS transitions.
Contents
Getting the basic stuff out of the way
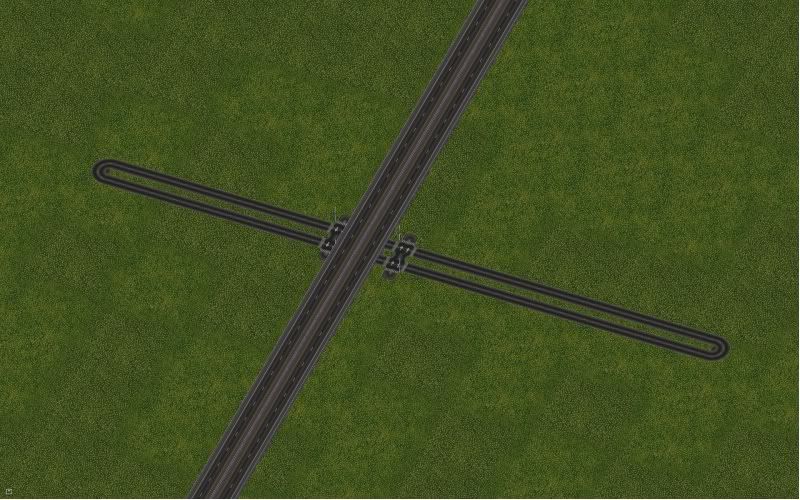
For this guide, I will construct a El-RHW with a 0 tile median. This makes sense as it gives the appearance that the entire highway is one structure, and because the El-RHW can easily be used in dense urban areas, a place where having a multiple tile median is rarely seen.
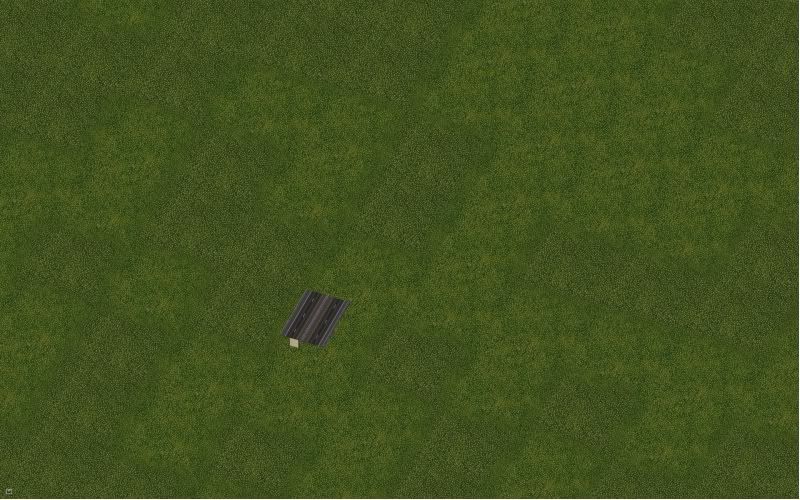
Place your starter pieces...
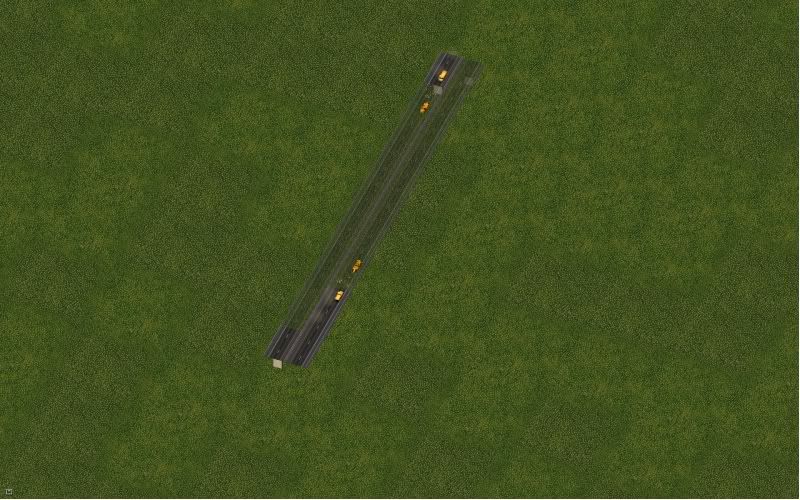
Drag the RHW using the RHW tool...
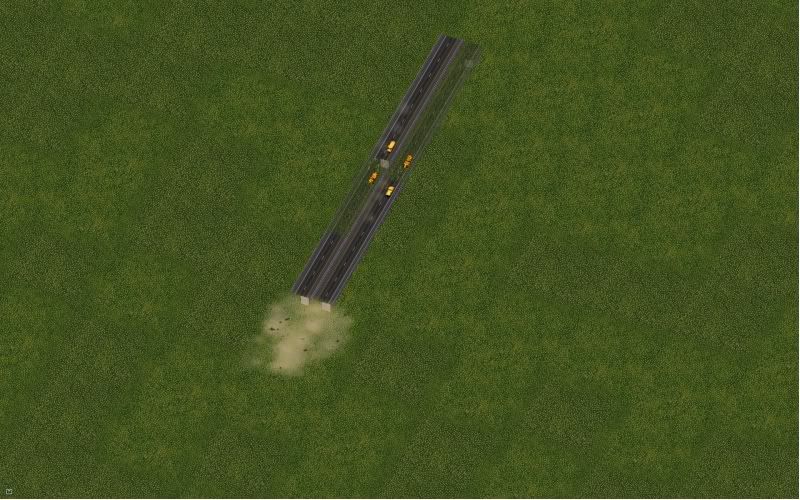
(Optional) Delete the starter pieces to create a RHW without any overrides.
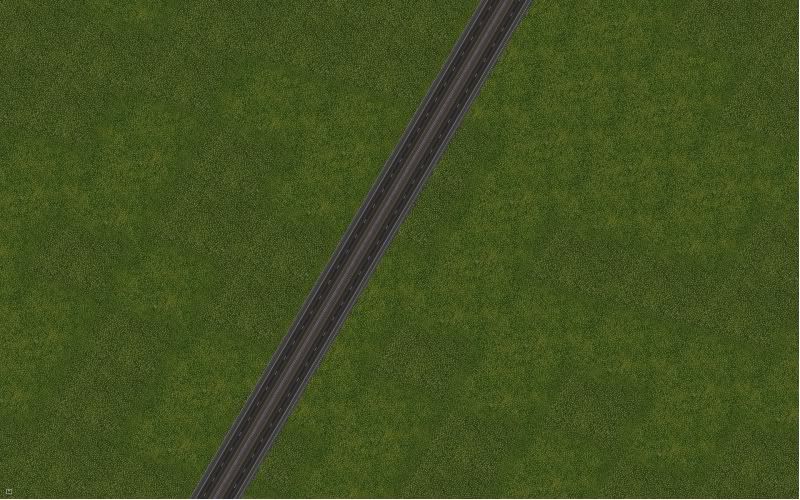
And drag the stable network over it.
Congrats! You now have a El-RHW!
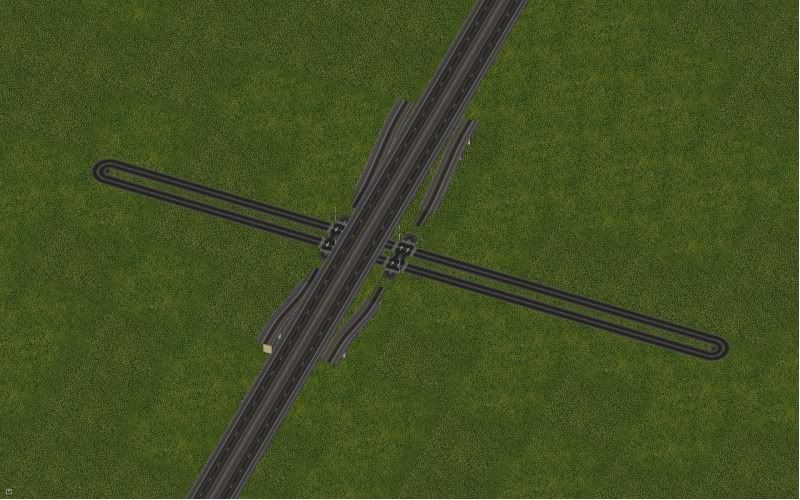
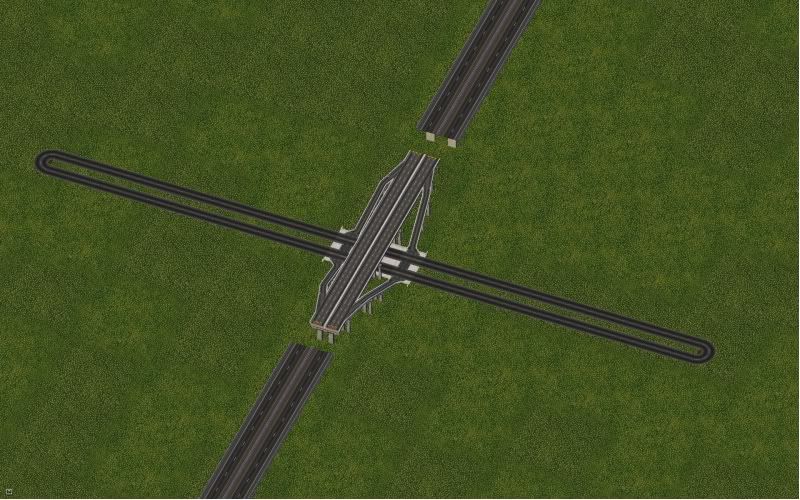
Standard El-RHW Diamond Interchange
This setup is probably the easiest and most common type of elevated diamond interchanges, and is quite a space saver!
Drag a road under your El-RHW:
Place 4 ground-to elevated MIS transition pieces on each corner:
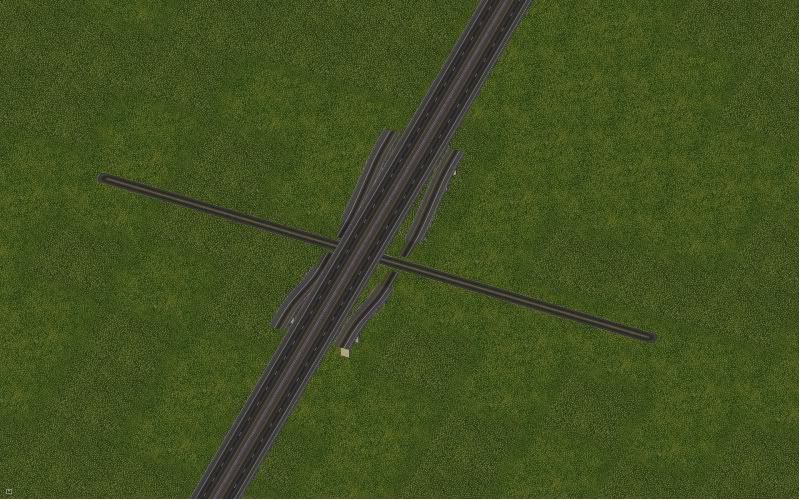
Plop your El-RHW type "A" ramps.
-Currently, this is the only El-RHW ramp.
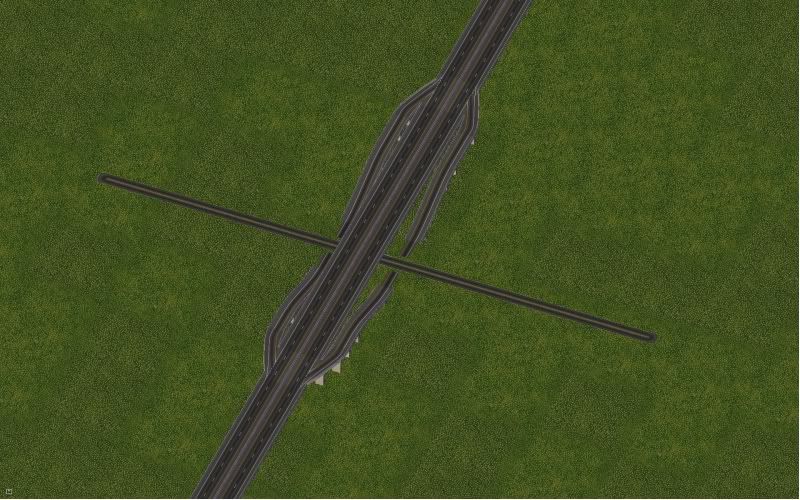
Drag the MIS on the ground to intersect with the road and connect to the other side.
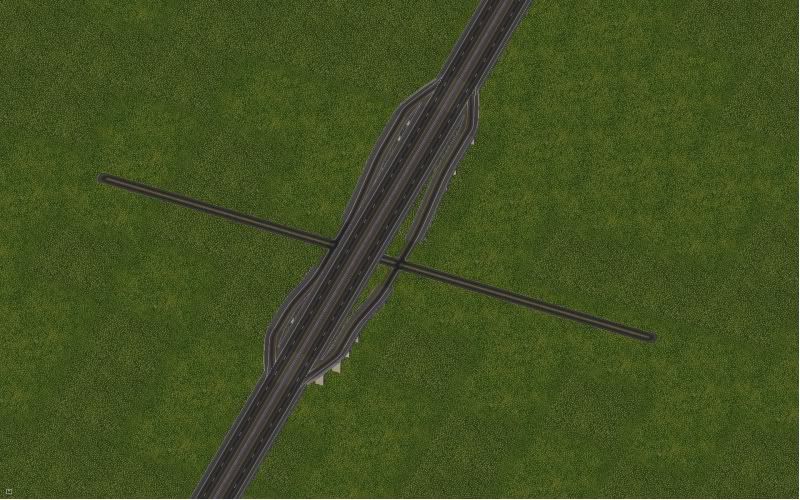
And you're done! Pretty simple eh? Looks great too!
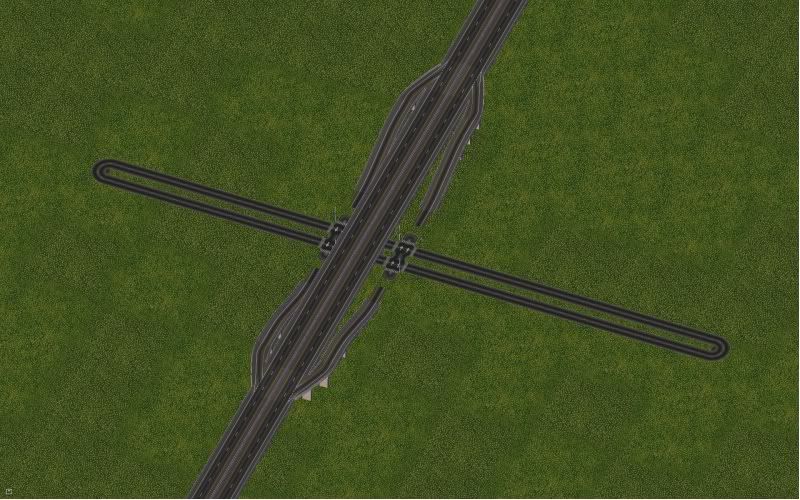
Higher Capacity El-RHW Diamond Interchange
A downside to diamond interchanges is that they have a low capacity. When space is an issue, diamond interchanges will be placed in dense cities, creating a lot of traffic problems if overused. This setup will be better to use in those areas because it contains an extra lane at the intersection and traffic lights for better flow.
Because this is going to be higher capacity, lets put an avenue underneath instead of a road.
Drag one-way roads on either side of the RHW to create intersections. Continue to drag them for at least one tile on each side of the intersections.
Place 4 ground-to elevated MIS transition pieces on each corner, just like we did in the last guide:
And again, plop your El-RHW type "A" ramps.
Now, drag the MIS on the ground to the one-way roads. The ramp will widen to two lanes, allowing for dedicated right and left turn lanes and giving the appearance that it is of higher capacity.
All right! This should work perfectly for any urban setting.
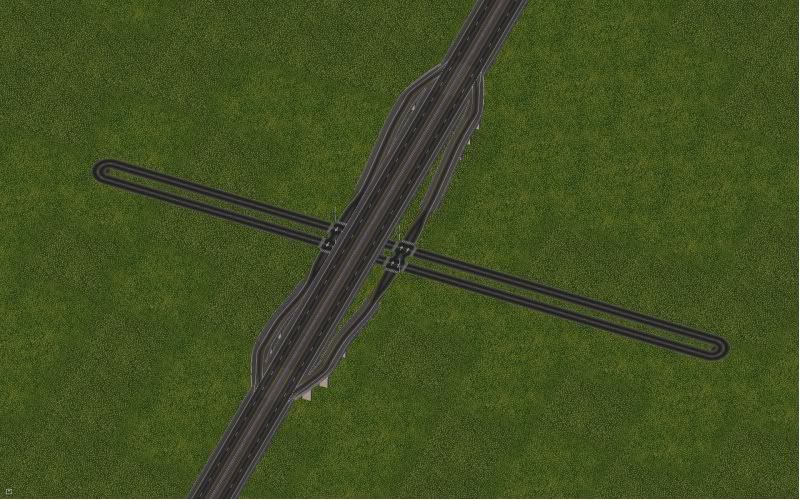
Now for something different
This guide is made for ultra-dense cities where interchanges need to consume as little room as possible. It may not be the best looking interchange, but it will get the job done while conserving space.
Place a elevated highway/avenue interchange in the middle of the junction. Then drag El-RHWs up to the elevated highway, leaving one tile vacant between the elevated highway and the El-RHW. -You can also use the elevated highway/road interchange too.
Now, cycle through the raised avenue puzzle pieces tab until you find the raised avenue-elevated highway transition puzzle piece. Place them on either side of the elevated highway in the one tile you left vacant to create a working connection.
And that's it! The raised avenue-elevated highway transition puzzle piece can be used whenever you want to connect a El-RHW to a elevated highway.
See Also
Other tutorials in this series include: